BASIC WEB-DESIGN
A practical course for beginners without experience who want to try themselves in a new profession - web designer.
Our courses
A practical course for beginners without experience who want to try themselves in a new profession - web designer.

The course is designed for those who feel creative potential and are ready to work hard to improve their skills.

In the course students learn to identify segments and user needs, develop Customer Journey Map, design user-friendly interfaces

All classes consist of practice. At the end of the training you will have your own portfolio of work and assistance in finding a job.

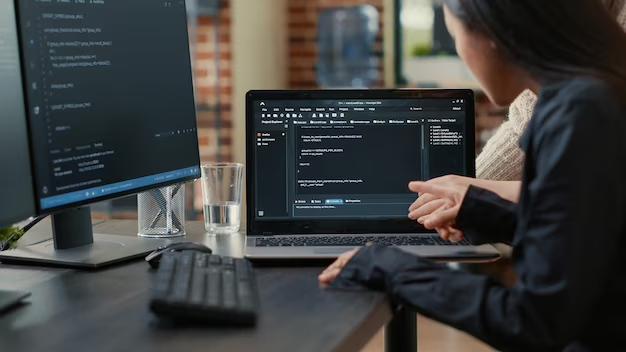
Experienced teachers are involved in teaching the students. All teachers are certified specialists with practical experience.

Training is conducted both online and ofline (in the classroom). The first lesson is free of charge for groups of 5-7 students.

Missed a class? No problem! We'll send out a video of the class.
Testimonials

For me, one of the most valuable components of the course is the teaching staff. All of the experts are high-level professionals with burning eyes and a great love for their work. Everyone shares their experience and knowledge, ready to answer all students' questions even after the lectures.
The program itself is built in such a way that you understand the whole process of interface design upon graduation, and you also know how to conduct UX research, work in a team and even create a simple animation.

A good multifaceted course for the first step into the profession. In the process of studying, students master many different directions in digital, which helps you find yourself and understand where you want to grow. The teachers on the course are great guys, they deeply understand the issue, have great success stories and are happy to share their knowledge. Thank you!
Elva Arena
It was difficult at times in terms of lack of time. But I made it, as did many other students! Teachers always give feedback, mentors help with any issues with the learning process. I chose the school after analyzing the competitors in the online learning market. The choice was due to the understandable curriculum, strong teaching staff, and, of course, the good feedback from the students. It is important to note that the classes were conducted online, and this shows that the material here is up to date. The training opened up new knowledge and skills for me, as well as opportunities for a career change in the IT field.
James Turner
Check the latest esports news, team and players statistics. Check TIPS.GG to be on the wave of Esports.

We’ve been in the assigment writing business for many years and know all the strengths and weaknesses of the system. Our experts will gladly help you turn your programming assigment into a masterpiece.

Parimatch – the best betting site , just choose your best and win

Our team of IB writers are experts in various subjects ranging from Mathematics and Economics to Philosophy and Biology. They have a great command of English and come with outstanding writing skills.

Boost your IB performance with buyinternalassessment.com! Offering superior IB IA Writing Service for top grades, stress-free journey, and increased academic confidence

Welcome to the leading brand design agencies rating website! Discover and compare the top branding agencies for your business needs.

With the best selection of free slot games, NorskeAutomater is the place to go. Claim an exclusive offer today.

Keep2Share is a file hosting service provider specializing in data storage, sharing, and management. Since 2013, the company has been the go-to platform for entrepreneurs, employees, and professionals looking for cloud-based hosting services.

Our partner Pokiesportal.com warns casino players of the risks of playing at the illegal and unlicensed The-pokies.net Australia. It is crucial to warn Australians of this scam operator, because they don’t pay out any winnings.